No products in the cart.
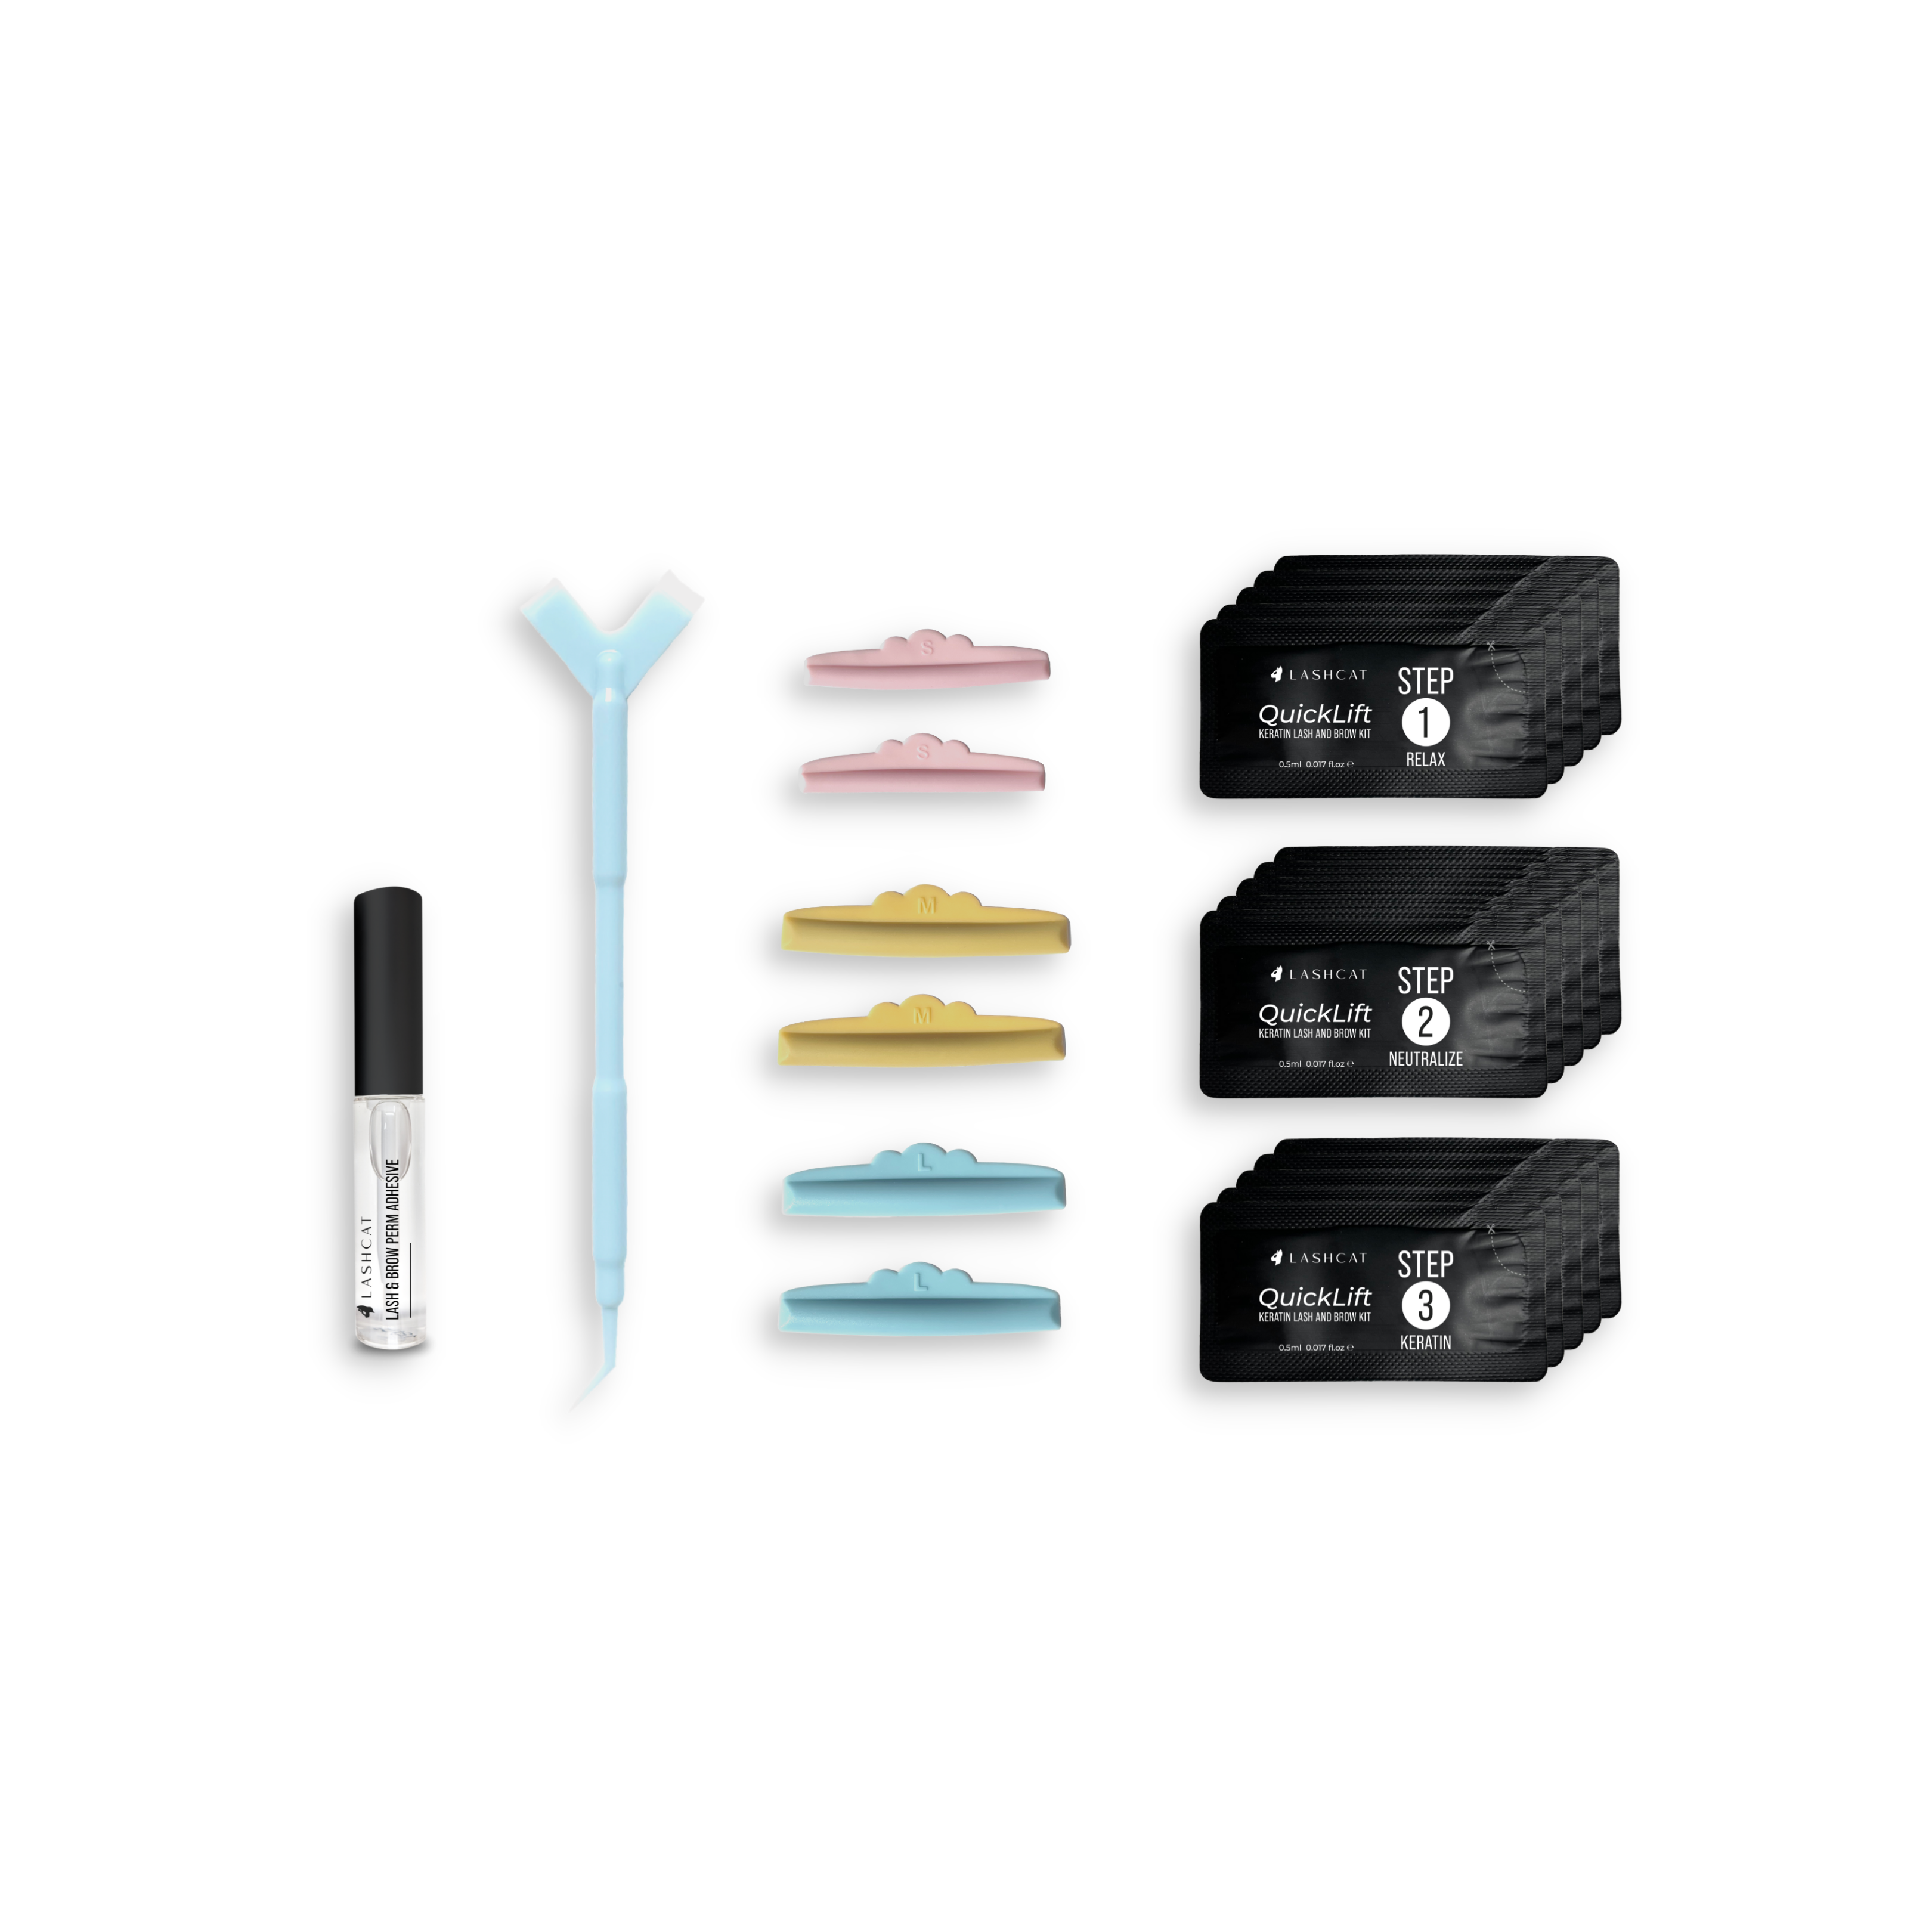
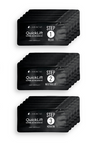
Step 1: Relax breaks the disulphide bonds in the hair structure, allowing the lashes or brows to be lifted or styled. Step 2: Neutralize lotion locks the lift or shape into place. Step 3: Keratin lotion nourishes and strengthens the lashes or brows for a healthier, sealed style.
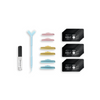
Included:
• Step 1: Relax
• Step 2: Neutralize
• Step 3: Keratin
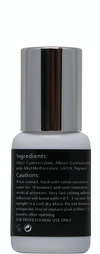
Ingredients
Step 1: Relax
Water, Ethanolamine, Stearyl Alcohol, Cetearyl Alcohol, Mineral Oil, Dipropylene Glycol, Ethanolamine, Glycerin, Hydrolyzed Keratin, Hydrolvzed Collagen, Hydrolvzed Silk.
Step 2: Neutralize
Water, Glycerin, Cyclopentasiloxane, Ceteary Alcohol, Mineral Oil, Hydrogen Peroxide, Dimethicone, Vitis Vinifera (Grape) Seed Oil.
Step 3: Keratin
Water, Cetearyl Alcohol, Dipropylene Glycol, Behentrimonium Chloride, Cyclopentasiloxane, Hydrolvzed Keratin, Avocado Oil, Olea Europaea (Olive) Fruit Oil, Shea, Butter, Coconut Oil, Tocopherol.
Lash & Brow Perm Adhesive
D/W, AMP-Acrylates Copolymer, Ethyl Alcohol
How to Use
Processing Time for Step 1: Relax lotion
LL&T:
Fine Lashes: 5 minutes
Medium Lashes: 7 Minutes
Thick Lashes: 10 minutes
Brow Lamination:
6-12 minutes
Fine Lashes: 5 minutes
Medium Lashes: 7 Minutes
Thick Lashes: 10 minutes
Brow Lamination:
6-12 minutes
Regardless of brow hair thickness, check the brow hair at 6 minutes and every 2 minutes after.
How Many Uses
Lash Lift: 2 clients per sachet
Brow Lamination: 1 client per sachet
Reseal with a strong clip and use within 2 weeks
Lash Lift and Tint
Step 1: Eye Shields
• Apply a thin coating to the back of the eye shield
• Wait 10-30 seconds for the glue to become tacky
• Adhere the shield to the eyelid and hold for 60 seconds
Step 2: Lift Lashes
• Apply a small section of adhesive to the upper half of where the lashes sit (not where the bases of the lashes lie)
• Lift and press the lashes up tightly with a lash tool or doe foot applicator
• Straighten lashes in that section before moving to another section
• Repeat for the remaining lashes
Step 3: Relax
• Apply the Step 1: Relax lotion to the base of the lashes and ¾ of the way up. Do not cover the tips
• Cover the lashes with a small piece of household plastic wrap
• Leave to process for the recommended amount of time
• Remove the lotion using a dry applicator or non-disposable tool
Step 4: Neutralize
• Apply Step 2: Neutralize lotion from the base to the tips of the lashes
• Cover the lashes with a new small piece of household plastic wrap
• Leave to process for 5 minutes (for all lashes)
• Remove the lotion using a dry applicator or non-disposable tool
Step 5: Tint
• Mix 2cm of RefectoCil tint with 15-20 drops of RefectoCil cream oxidant. Mix for 2 minutes until no longer clumpy
• Apply mixture from base to tip
• Leave for 5-10 minutes
• Remove the lotion using a dry applicator or non-disposable tool
Step 6: Keratin Lotion
• Apply Step 3: Keratin lotion from the base to the tips of the lashes
• Leave for 5 minutes (for all lashes)
• Remove most of the lotion using a dry applicator or non-disposable tool
Lash Lift (no tint)
Step 1: Eye Shields
• Apply a thin coating to the back of the eye shield
• Wait 10-30 seconds for the glue to become tacky
• Adhere the shield to the eyelid and hold for 60 seconds
Step 2: Lift Lashes
• Apply a small section of adhesive to the upper half of where the lashes sit (not where the bases of the lashes lie)
• Lift and press the lashes up tightly with a lash tool or doe foot applicator
• Straighten lashes in that section before moving to another section
• Repeat for the remaining lashes
Step 3: Relax
• Apply the Step 1: Relax lotion to the base of the lashes and ¾ of the way up. Do not cover the tips
• Cover the lashes with a small piece of household plastic wrap
• Leave to process for the recommended amount of time
• Remove the lotion using a dry applicator or non-disposable tool
Step 4: Neutralize
• Apply Step 2: Neutralize lotion from the base to the tips of the lashes
• Cover the lashes with a new small piece of household plastic wrap
• Leave to process for 5 minutes (for all lashes)
• Remove the lotion using a dry applicator or non-disposable tool
Step 5: Keratin Lotion
• Apply Step 3: Keratin lotion from the base to the tips of the lashes
• Leave for 5 minutes (for all lashes)
• Remove most of the lotion using a dry applicator or non-disposable tool
Brow Lamination and Tint
Step 1: Relax
• Apply the Step 1: Relax lotion liberally to the brow hairs
• Cover the brows with a small piece of household plastic wrap
• Leave to process for the recommended amount of time
• Check the brow hair by uncovering a small section of the plastic and move the brow hair with a pointed tool
• If the brow hair moves like a wet string and doesn’t try to fall back to its original shape it’s ready
• If the brow hair moves back into its original shape or tries to, cover with plastic for an additional minute. Repeat this step until the brow hair is ready
• Remove the lotion using a dry applicator or non-disposable tool
Step 2: Neutralize
• Brush and shape the brows into the desired shape
• Use the Lash & Brow Perm Adhesive if necessary to tame a few unruly hairs. If most hairs are not relaxed and easily shaped into place, repeat the Step 1: Relax steps before moving forward
• Apply Step 2: Neutralize lotion carefully without disturbing the shape
• Cover the brows with a new small piece of household plastic wrap
• Leave to process for 5 minutes (for all hair types)
• Remove the lotion using a dry applicator or non-disposable tool
Step 3: Tint
• Mix 2cm of RefectoCil tint with 15-20 drops of RefectoCil cream oxidant. Mix for 2 minutes until no longer clumpy
• Working quickly, apply mixture from to the bottom of both brows first in a clean line
• Quickly apply tint to the remainder of the brows and avoid the head
• Apply the tint to the head
• Leave for 10 to 30 more seconds
• The hairs will continue to darken once removed
• Remove the lotion using a dry applicator or non-disposable tool
Step 4: Keratin Lotion
• Apply Step 3: Keratin lotion to the brow hairs
• Brush the hairs into place
• Do not remove
Brow Lamination (no tint)
Step 1: Relax
• Apply the Step 1: Relax lotion liberally to the brow hairs
• Cover the brows with a small piece of household plastic wrap
• Leave to process for the recommended amount of time
• Check the brow hair by uncovering a small section of the plastic and move the brow hair with a pointed tool
• If the brow hair moves like a wet string and doesn’t try to fall back to its original shape it’s ready
• If the brow hair moves back into its original shape or tries to, cover with plastic for an additional minute. Repeat this step until the brow hair is ready
• Remove the lotion using a dry applicator or non-disposable tool
Step 2: Neutralize
• Brush and shape the brows into the desired shape
• Use the Lash & Brow Perm Adhesive if necessary to tame a few unruly hairs. If most hairs are not relaxed and easily shaped into place, repeat the Step 1: Relax steps before moving forward
• Apply Step 2: Neutralize lotion carefully without disturbing the shape
• Cover the brows with a new small piece of household plastic wrap
• Leave to process for 5 minutes (for all hair types)
• Remove the lotion using a dry applicator or non-disposable tool
Step 3: Keratin Lotion
• Apply Step 3: Keratin lotion to the brow hairs
• Brush the hairs into place
• Do not remove